lydia02 wrote:I keep the original renders in a render library but did them as jpg. Would it be helpful to convert them back to png when I'm trying to adjust brightness & contrast in gimp or would I have to render them again to see any benefit?
You have to render again on PNG, the first time that Daz saved as JPG you already loose some features, and they don't come back.
lydia02 wrote:So, if I'm following correctly, I could render for 1280x640 in png and then use gimp to scale them to 1920x1080 without loss of image quality or am I missing something? Totally with you on saving render time. Thanks for the clarification on the sizes. That makes sense now why you would need multiple sizes.
Using a PHP code, I create an array as ['1920', '1280','768'] then inside a loop I exec "convert -resize $resolution -quality 80" $file $newFile". It is very simple, worked for me. But if you wanting something more elaborated, Tlaero's Aventure Creator have a program to resize image in the folder.
lydia02 wrote:So I loaded an empty set and selected the items in it. Then went into shader presets/iray/ and used emissive shader. Is there a way to determine if this has already been applied to a set or is it just best to apply it anyway? Then adjust the lumens for the various light sources, right?
The only thing you should be aware of is to select one or more surfaces, expanding the object on the Surfaces tab before you double click on "emissive shader". It doesn't work if you just select the object. You will know if it worked if the emissive properties appears on the surface edition.
lydia02 wrote:I did watch a video that recommended spotlights and to change them to disc. Also to increase the size of the spotlight to make the lighting softer. I did notice that I was getting a lighting reflection off a mirror on one of my renders. I wasn't able to figure out how to remove them in gimp. So I changed the posing of the scene so the mirror wasn't included.
Dreamlight Iray Advanced lighting?

That's my biggest pain while making internal scenes. I usually try to keep the mirror and make juggles to hide the light.
lydia02 wrote: I used the light rendering that came with the set. It looked like there was a strong light coming through the stair case. The set is open on the roof but I couldn't find a light source to reduce the settings. I have similar issues with the lighting in this scene. I worked with the environment lighting and the stair materials and rendered it again. I'll post the new version below. If you get a chance, I'd be interested in your take on what I did right with it and what I could do to make it better.
I saw the new picture in the other topic, great improvement. If the roof is open you must be carefull with the dome light. Sometimes is better to configure Render Settings->Environment for "Scenes lights only", eliminate the dome. Otherwise, you will need to set the intensity of the dome light in that same panel.
Other thing that I usually don't change is the tone mapping. The default is darker, some creators reduce the tone creating a big boost on the bright of the entire scene.
lydia02 wrote: Yes, the render turned out dark so I used gimp to lighten it. Not understanding your comments on the effects this created. Had the impression that I should use gimp after the render process to improve an image. Is this a matter of making a large change and that I should have rendered it again instead?
Yes, look, every object on the scene reacts in a different way to a light source. If you apply an effect using Photoshop or Gimp, the effect will work uniformly in every object, creating an artificial look. It's not bad, just strange. The better solution would be to render again.
What I usually do, is click on render and wait until the scene start to come out. If the light isn't good, I cancel the process, change the settings and render again. When is good, I considerer it ready to render. I use a batch render script, so basically move to the next scene, and then render all of them while I sleep.
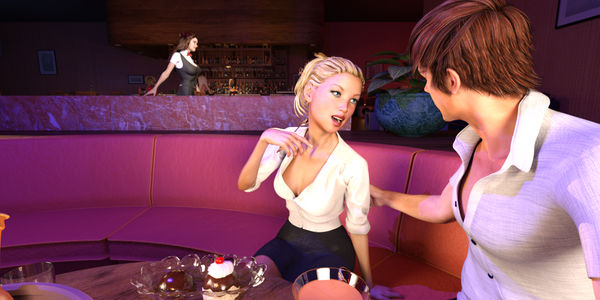
lydia02 wrote: I again used the set rendering for this and adjusted the environment. The skin tones,particularly the girl in the blue vest seem off to me. Is this all lighting or lighting & say settings? I spent most of yesterday working with a skin tone tutorial to try and adjust the skin tones from another set. This classroom set seems well lit to me so it wouldn't seem lighting was a major player but I'm probably missing something will also post before and afters for guidance.
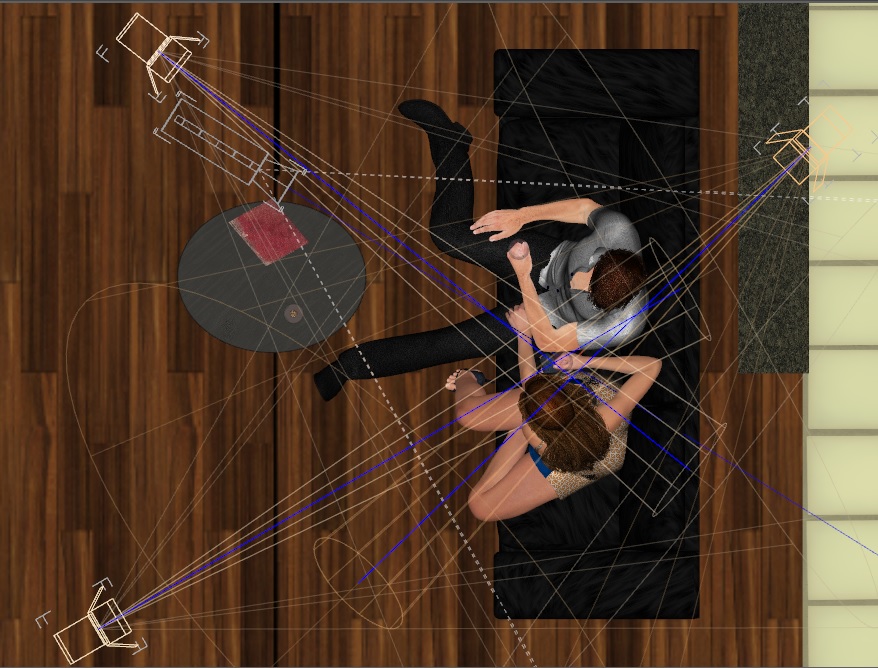
I believe that is just add some spotlights. If the skin tone looks good in another environment, than the problem shouldn't be the skin tone. Is really hard to get a character that the out-of-the-box skin is not good. Here a have an example of how I use 3 spotlights on a set:
lydia02 wrote: Totally appreciate your help and want to get better render results.
I'm very glad about that.
lydia02 wrote: Have been comparing my renders to the promo shots for the sets and characters. Trying to train my eye. I can tell that I'm not totally happy with a render. Using the comparison to try and zone in on what is different.
Promo images are very hard to achieve, once I got a .duf file of a character promo scene, there was about 8 Point Lights of different colors. Someone spent hours on that and make sense, because if the model sells a lot, he will get a lot of money. But for us, with a game of hundreds of images, so many time in just one image would make the project unsustainable,